How to Install Blogger Template in 5 Easy Steps
Just created your blog on Blogger?
Awesome!
But now you’re wondering… how do I make it look better?
That’s where installing a template comes in — and don’t worry, it’s way easier than it sounds.
In this guide, I’ll walk you through how to install Blogger template step by step, using simple language and no tech talk.
Whether you’re brand new to blogging or just want to refresh your blog’s look, you’re in the right place.
Let’s get started.
What’s a Blogger Template?
Think of a template like the skin of your blog — it controls how everything looks:
- Layout
- Colors
- Fonts
- Where things go (like your sidebar, menu, posts)
Blogger gives you some built-in templates, but most of them are… well, basic.
If you want something cleaner, faster, more modern, or more “you” — you’ll want to install a custom template.
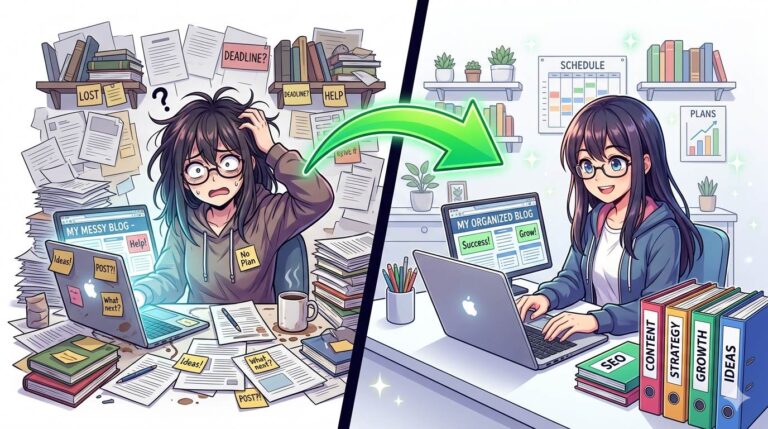
Why Install a Custom Blogger Template?
Good question! Here’s why most bloggers switch:
- Your blog looks more professional
- Better user experience (especially on phones)
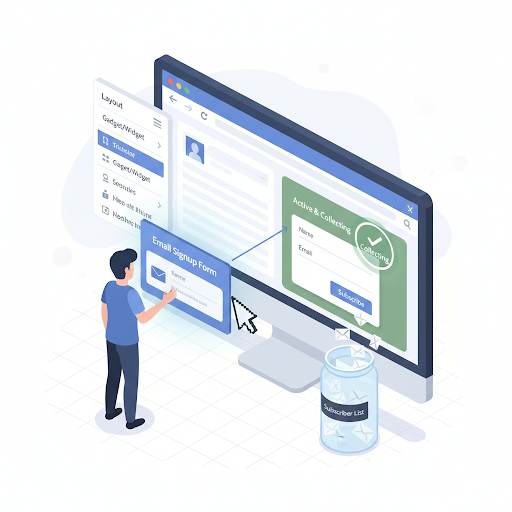
- You can add cool features like email sign-up forms or menus
- Many custom templates are built for SEO (so you rank better on Google)
- It helps your blog stand out and look trustworthy
And honestly? When your blog looks great, you’ll feel more confident sharing it.
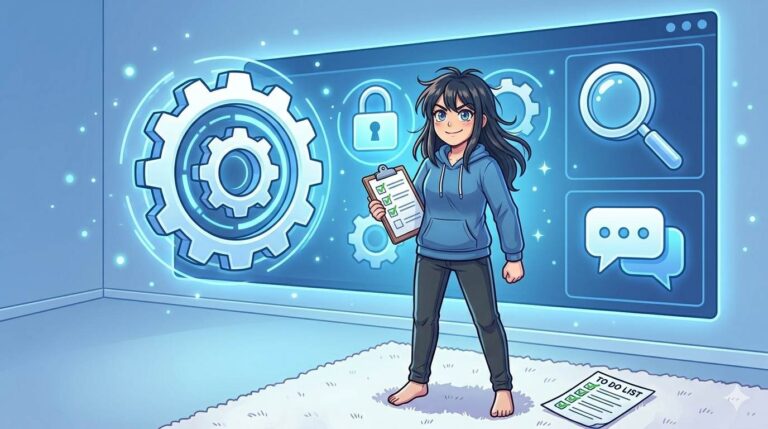
What You’ll Need
Don’t worry — you won’t need any coding or technical skills.
Here’s all you need:
- ✅ A Blogger blog (already set up)
- ✅ A template file (you’ll download this)
- ✅ A computer (easier than using your phone)
Step-by-Step: How to Install Blogger Template (Simple Guide)
Step 1: Download a Template
Search Google for things like:
- “Free Blogger templates 2026”
- “SEO Blogger theme”
- “Modern Blogger template”
Pick one you like.
Make sure it’s:
- Mobile-friendly
- Fast loading
- Easy to use
Once you download it, you’ll get a .zip file.
Right-click and extract/unzip it.
Look for the file that ends in .xml — that’s the one you need.
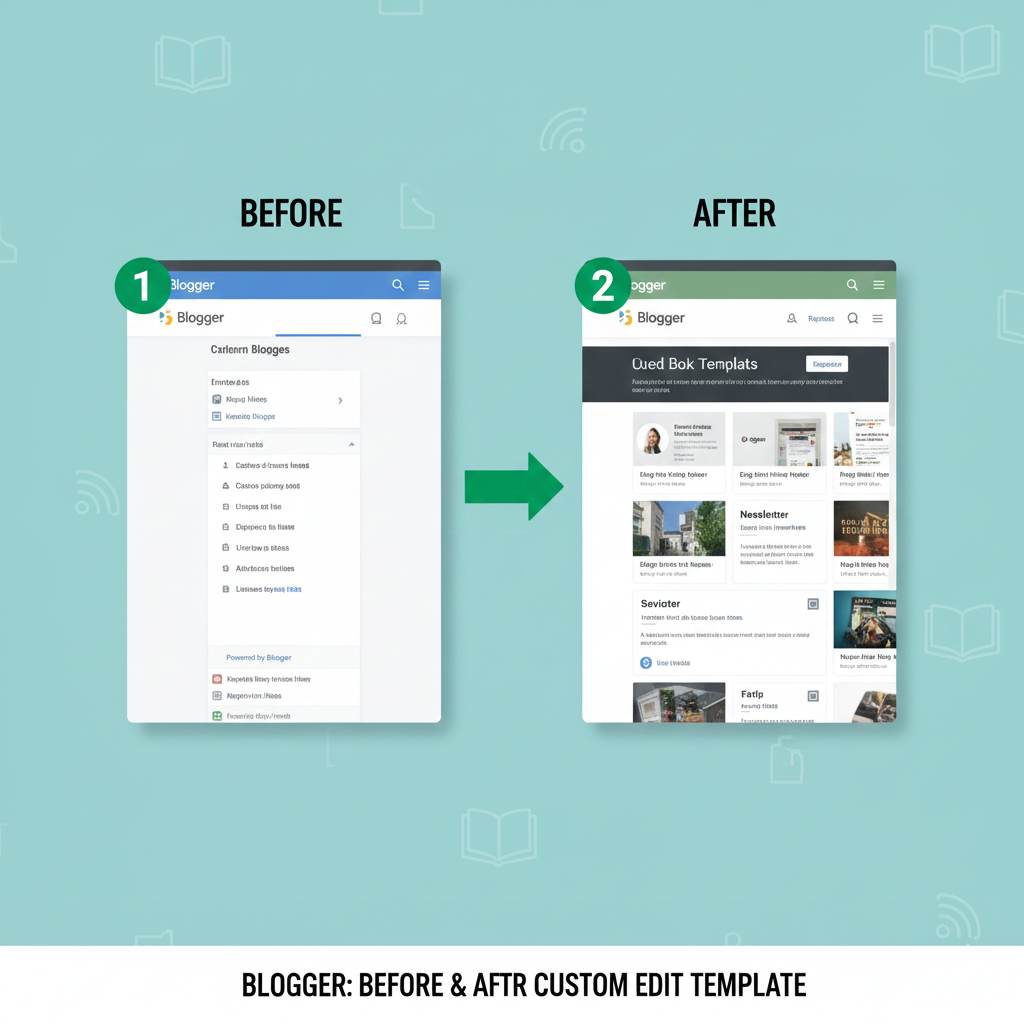
Step 2: Log in to Blogger
Go to www.blogger.com and sign in.
Choose your blog > Click Theme on the left menu.
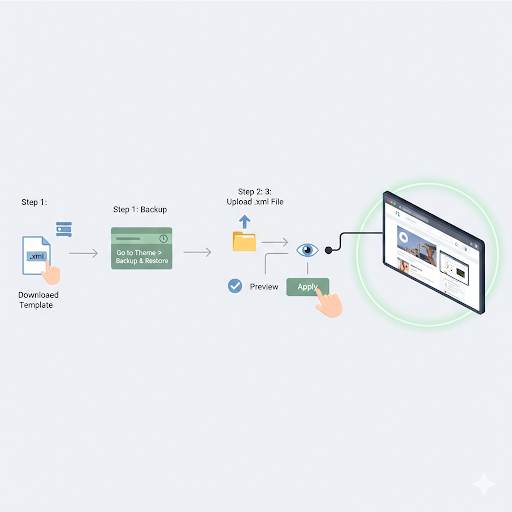
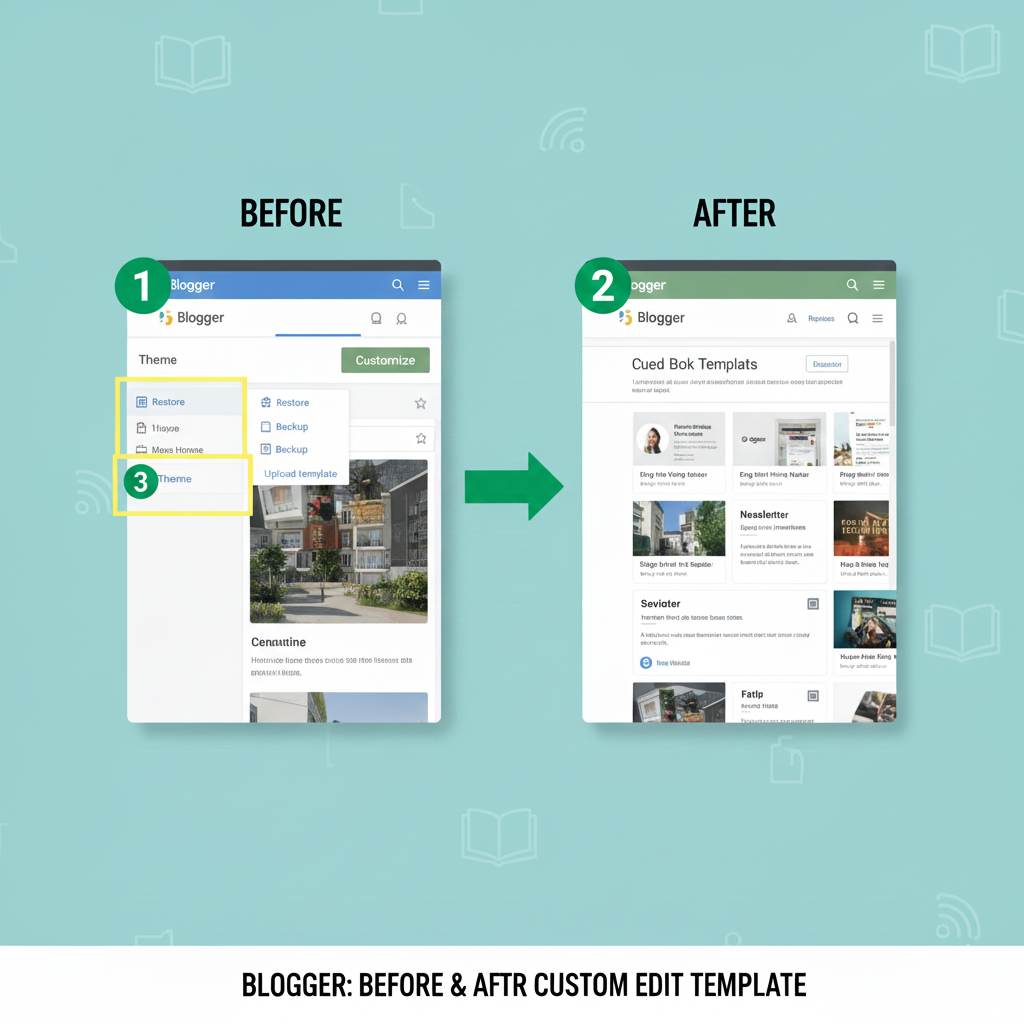
Step 3: Back Up Your Current Theme (Important)
Before changing anything, always back up your current theme — just in case you want to go back.
Here’s how:
- In the Theme section, click the down arrow (next to Customize)
- Choose Backup
- Click Download
That’s it.
Now you’re safe.
Step 4: Upload the New Template
Still in the Theme section:
- Click the arrow again and choose Restore
- Click Upload and select your .xml file
- Wait a few seconds… and done! Your new design is now live 🎉
What to Do After Installing the Template
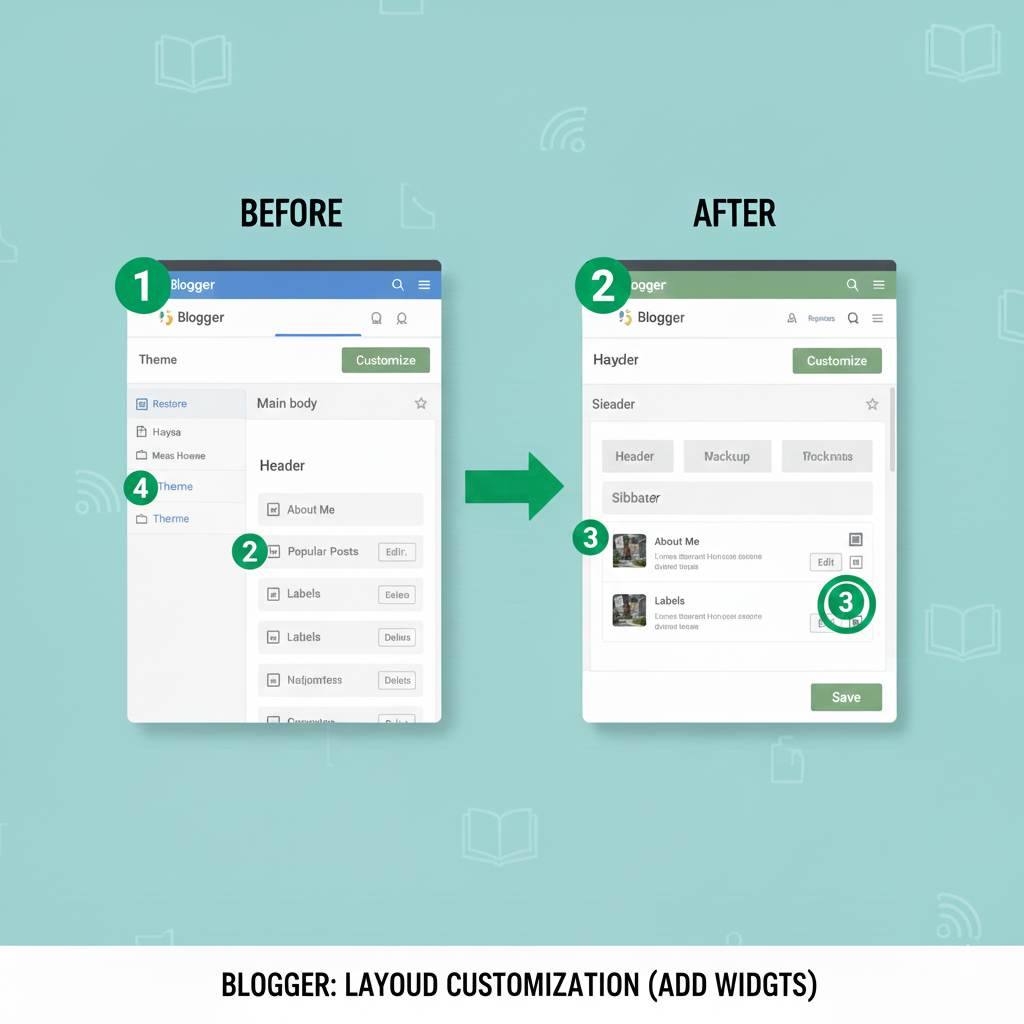
Okay, so you installed it — now what?
- ✅ Go to Layout and move things around if needed
- ✅ Use the Theme Designer to tweak colors, fonts, and logos
- ✅ Add important pages (About, Contact, Privacy)
- ✅ Check your blog on mobile to see how it looks
- ✅ Fix anything that looks weird or out of place
Avoid These Beginner Mistakes
Here are a few things many new bloggers get wrong (you won’t):
- ❌ Forgetting to back up their old theme
- ❌ Choosing a slow or messy template
- ❌ Trying to do this from their phone (desktop is easier)
- ❌ Ignoring mobile design — most visitors are on phones
- ❌ Leaving the blog empty — customize and personalize it!
Final Thoughts
Installing a Blogger template isn’t scary.
You don’t need to be a developer or techy person.
With a few simple clicks, you can turn your plain blog into something beautiful and professional — and it’ll feel so good to share your blog with the world.
You started this. Keep going. You’ve got this.
More articles:
👉 How to Create a Privacy Policy Page for Blogger: A Complete Step-by-Step Guide
👉 How to Create a Contact Us Page for Blogger (Using Google Forms)
👉 How to Add a Sign Up Form to Blogger (Step-by-Step for Beginners)