HTTPS on Blogger: Why It Matters & How to Enable It (Beginner Guide)
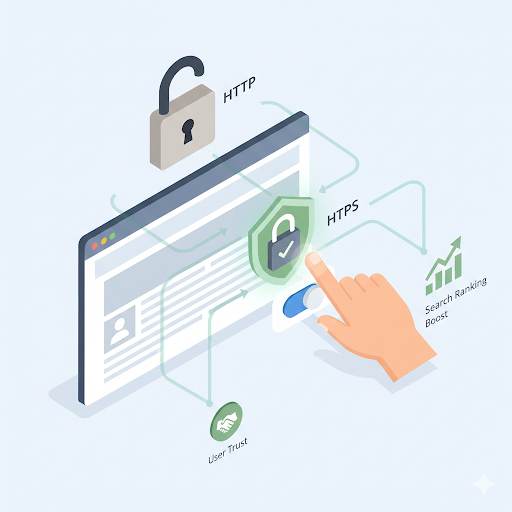
What Is HTTPS (In Simple Words)?
Why HTTPS Is So Important on Blogger
Do I really need HTTPS?“
- Your blog looks safer.
- No one likes seeing “Not Secure” at the top of a page.
- It builds trust.
- Visitors are more likely to stay if your blog feels safe.
- It helps with Google rankings.
- Google prefers secure blogs.
It’s free on Blogger.
You don’t need to pay for anything.
It’s required for AdSense and some affiliate programs.
Bottom line: If your blog doesn’t use HTTPS, you’re falling behind—and possibly scaring away visitors without even realizing it.
How to Turn On HTTPS in Blogger (Takes 1 Minute)
1. Go to your Blogger dashboard.
2. Choose your blog.
3. Click Settings on the left menu.
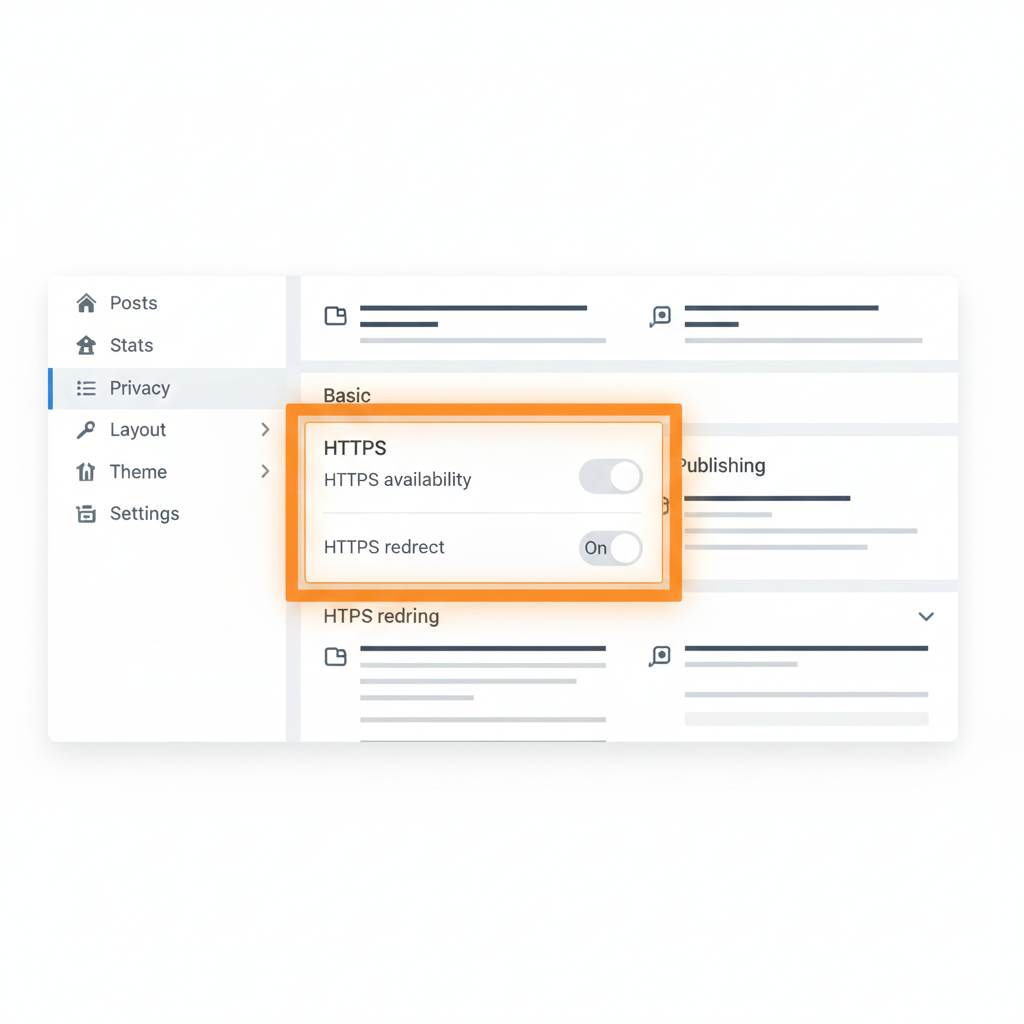
4. Scroll to the section called HTTPS.
5. Turn on “HTTPS Availability” → Set it to Yes.
6. Then turn on “HTTPS Redirect” → Set it to Yes too.
That’s it!
Blogger will take care of the rest.
It even gives you a free SSL certificate, which is what makes HTTPS work.
No need to install anything or contact support.
After Enabling HTTPS: What to Watch For
🔸 Images or Widgets Not Loading?
This is called mixed content.
It means something on your blog (like an image or a widget) is still using the old “http://” link.
How to fix it:
Go into your post or HTML and update those links to start with “https://” instead.
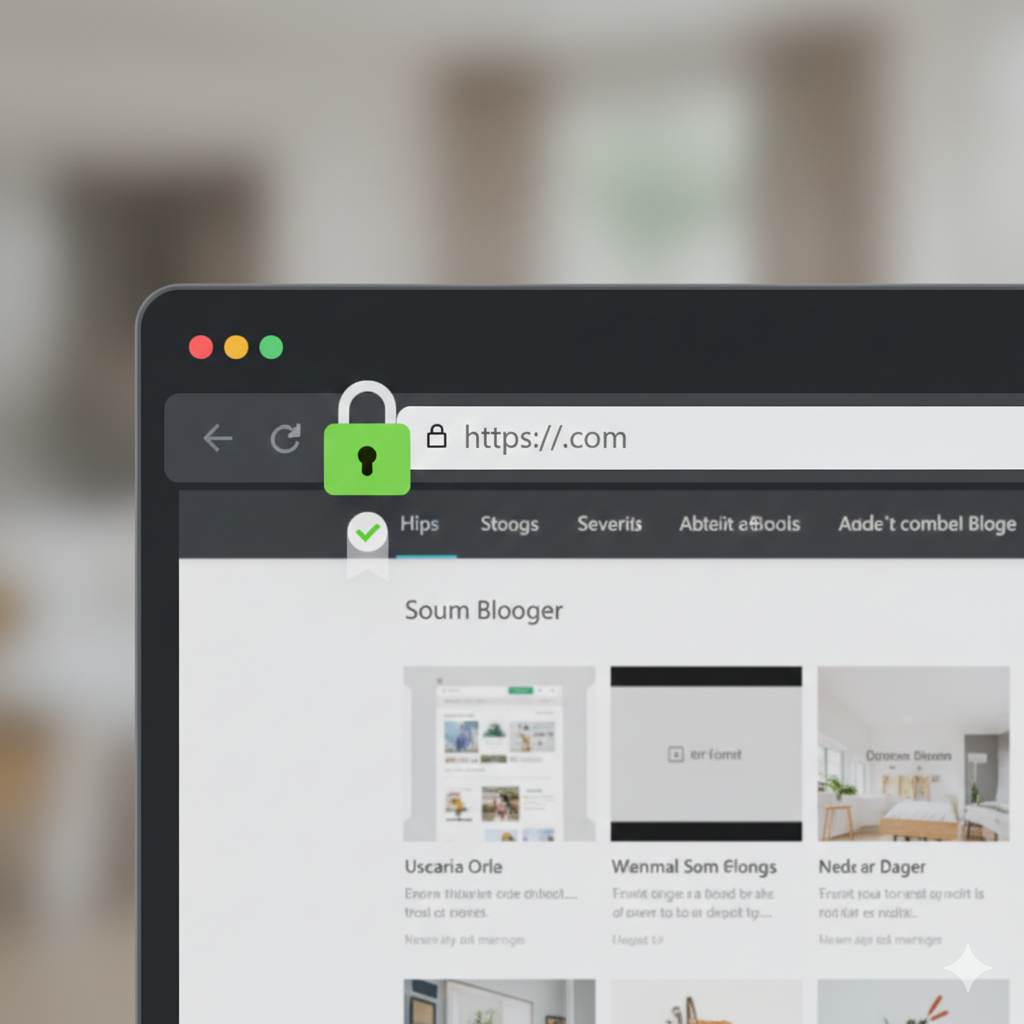
🔸 Still Seeing a “Not Secure” Warning?
It can take a few minutes to fully activate.
Just wait a bit and refresh your blog.
🔸 Custom Domain Issues?
If you’re using your own domain (not the default Blogspot one), HTTPS might take a little longer to kick in.
Make sure your domain is connected correctly.
If not, check your domain settings or ask your domain provider for help.
Don’t Make These Mistakes
- ❌ Not turning on HTTPS Redirect — this means some visitors still land on the insecure version.
- ❌ Using widgets or templates that don’t support HTTPS — this can cause layout problems or security warnings.
- ❌ Leaving old “http://” links in your posts — this can stop the padlock from showing.
- ❌ Not checking your site after the switch — always double-check that everything looks right.
After the Switch: A Quick To-Do List
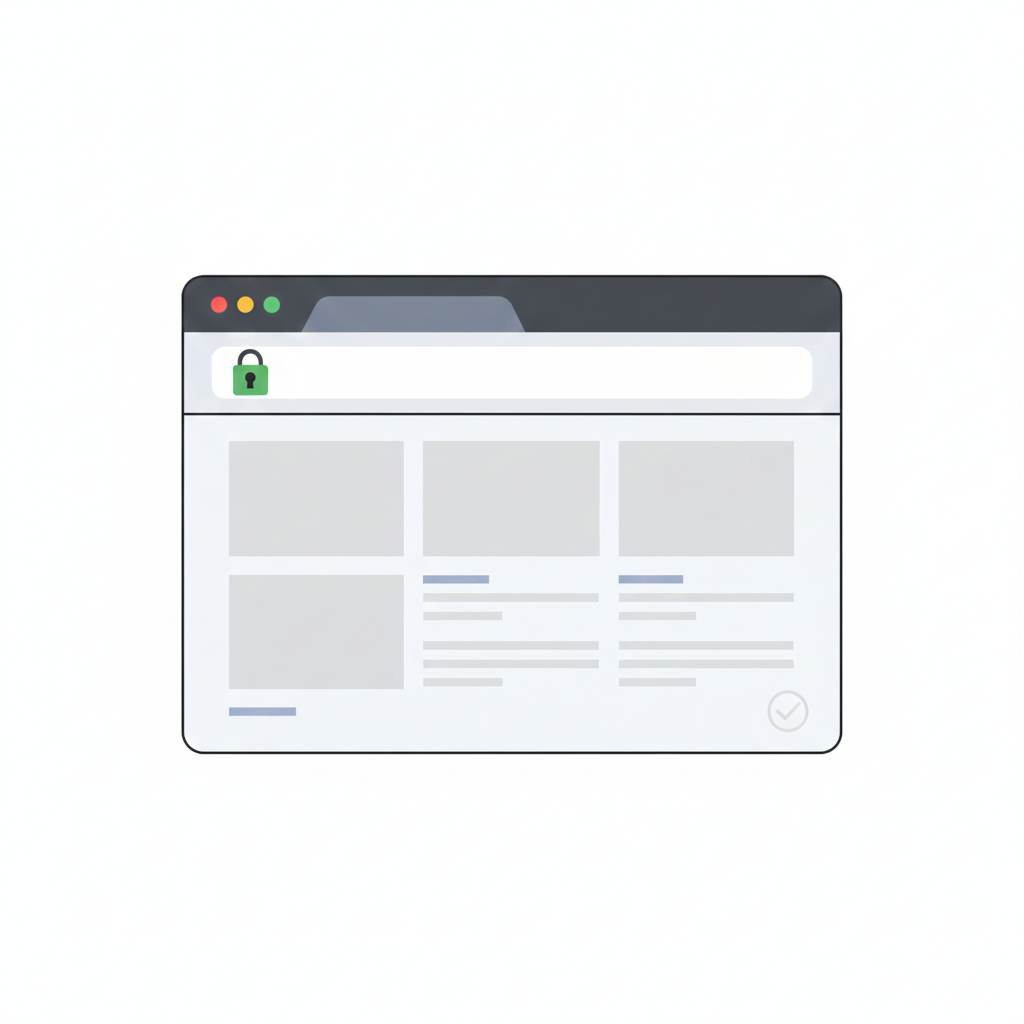
- ✅ Visit your blog and make sure the padlock shows up.
- ✅ Update any “http” links inside your posts to “https.”
- ✅ Check your Google Search Console — re-verify the HTTPS version if needed.
- ✅ Submit your new HTTPS blog to Google and Bing for indexing.
That’s it! You’re now running a secure blog.