Visual Content for Bloggers: 6 Tips to Elevate Your Blog (That Actually Work)
📘 TL;DR – What you’ll learn: You don’t need design skills or expensive software to make your blog visually appealing. Using free tools like Canva, Unsplash, and Remove.bg, you can add images, graphics, and Pinterest pins that keep readers engaged and drive traffic. This guide gives you 6 actionable tips and a 7‑day plan to transform your blog – no design degree required.
🔥 The Problem: Walls of Text Kill Your Blog
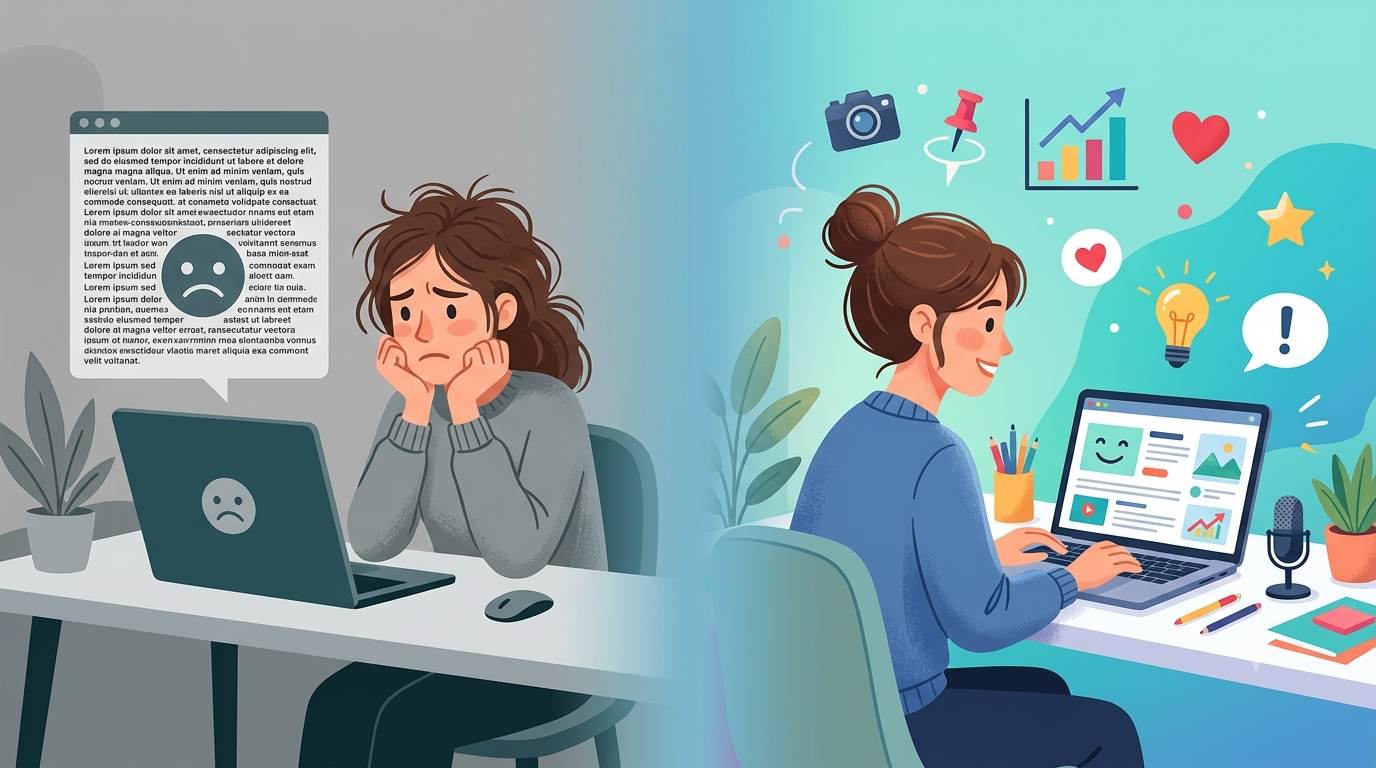
Nobody likes reading a wall of text. You pour hours into your words, but if your blog looks like a boring textbook from 2005, people will bounce. They’ll skim, get overwhelmed, and leave. And you’ll never know why.
I’ve been there. My first posts were nothing but text – no images, no breaks, no life. Then I learned the secret: visuals aren’t “extra” – they’re essential. And you can create stunning ones with zero design experience and completely free tools. Let me show you how.
Before diving into visuals, make sure you have a steady stream of content ideas. My Tips for Creating Content guide will help you never run out of topics. And once you start publishing, track how readers behave with my Audience Engagement Metrics guide – visuals directly impact time on page and bounce rate.
📌 True story – Sarah (food blogger)
Sarah’s blog was 2,000‑word text walls. No images. No breaks. After adding just one Pinterest‑friendly graphic per post, her page views doubled in 3 weeks. She spent 10 minutes per graphic using Canva. No design degree. No expensive software.
✅ What Is Visual Content? (And Why Bloggers Need It)
Visual content for bloggers is anything readers see, not just read. That includes blog banners, images inside posts, infographics, GIFs, and Pinterest pins.
Why it matters: People remember 65% of visual information vs. only 10% of written text (HubSpot). Visuals = attention + clarity + growth. Without them, you’re leaving traffic and engagement on the table.
⚠️ Here’s the brutal truth: You can have the best written content in the world, but if it looks like a wall of text, nobody will read it. Visuals are not optional anymore. They’re the difference between a scroll‑past and a share.
🛠️ “But I’m Not a Designer…” (You Don’t Need to Be)
Here’s the truth: You just need the right free tools. No degree required. No years of practice. Just 10 minutes and a willingness to try.
| Tool | Best For | Free Tier |
|---|---|---|
| Canva | Blog graphics, pins, banners | Thousands of free templates |
| Snappa | Quick social images | 3 downloads/month free |
| Unsplash / Pexels | Stock photos | Fully free, no attribution needed |
| Remove.bg | Remove backgrounds | 50 free images/month |
🔥 My #1 recommendation: Start with Canva. It’s web‑based, drag‑and‑drop, and has templates for everything – blog headers, Pinterest pins, Instagram posts, even YouTube thumbnails. You’ll look like a pro in 10 minutes.
🎯 The 6 Tips That Actually Work (Step by Step)
1. Plan your visuals before you write
Sketch 2–3 visual ideas per post. Example: a featured image, a screenshot of a tool you’re recommending, a comparison table. This saves hours of rework later.
2. Use templates – never start from scratch
Canva has thousands of templates for blog headers, Pinterest pins, and social posts. Pick one, change the colors to match your brand, and done. 90% of the work is already done for you.
3. Add at least one image every 300–400 words
This breaks the text and keeps readers scrolling. A screenshot, a chart, or even a pull quote graphic works wonders. Your bounce rate will thank you.
4. Optimize for mobile (seriously)
Over 70% of blog traffic comes from phones. Keep images full‑width (not tiny), use large text on any graphics, and test your post on your own phone before publishing.
5. Name your images for SEO (don’t skip this)
Instead of “IMG_1234.jpg”, use “visual-content-for-bloggers-guide.jpg”. Then add alt text describing the image. This helps Google understand your images and can bring you traffic from image search. For a complete walkthrough, check my SEO for Images guide – it covers file names, alt text, and compression.
6. Create a “pin‑worthy” summary graphic for every post
Make a vertical image (1080×1920 pixels) that summarizes your post’s main takeaway. Add your blog URL at the bottom. People will pin it to Pinterest, driving free, passive traffic for months or years. I still get traffic from pins I made in 2023.
💡 Example – Marcus (travel blogger)
Marcus added one vertical pin graphic per post. Within 2 months, Pinterest brought him 4,000+ monthly visitors. He only spent 10 minutes per graphic using Canva’s free templates. No ads, no paid promotion – just a simple visual.
📉 The Brutal Truth (Read This Twice)
You can have the best written content in the world, but if it looks like a textbook, nobody will read it. Visuals are not “extra” – they are essential for keeping readers on your page, reducing bounce rate, and getting shares.
Most beginner bloggers skip visuals because they think it’s too hard, too expensive, or they’re “not creative.” That’s a mistake. A costly one. Your competition is already using visuals. Don’t fall behind.
One simple infographic can get you more backlinks than ten blog posts. People love sharing helpful visuals. And those backlinks boost your SEO. It’s a flywheel effect.
📅 Your 7‑Day Visual Content Challenge (Start Today)
- Day 1: Pick one old post and add a featured image. Canva template → 5 minutes.
- Day 2: Create a summary graphic (1080×1920) for that same post. Pin it to your own Pinterest board.
- Day 3: Add 2 screenshots to another post (a tool, a chart, a result).
- Day 4: Design a Pinterest pin using Canva’s free template. Write a compelling title overlay.
- Day 5: Optimize image file names and alt text for 3 of your most popular posts.
- Day 6: Share your best visual from the week on social media.
- Day 7: Check your blog analytics – compare bounce rate and time on page.
In one week, you’ll never publish a text‑only post again.
🙋 FAQ About Visual Content for Bloggers
Do I need a paid Canva account to create good visuals?
No. The free version has thousands of templates, stock photos, and design elements. I’ve used only free Canva for years.
What if I have no design eye at all?
Use templates. Don’t start from a blank canvas. Templates are designed by professionals. Just change the text and colors.
How many images should a 1,500‑word blog post have?
Aim for 4–6 images. That’s roughly one every 250–375 words. It keeps the post visually broken up and engaging.
Do I really need Pinterest if I’m not a food or fashion blogger?
Yes. Pinterest works for almost every niche – tech, finance, productivity, travel, even coding tutorials. People use it as a search engine. Don’t ignore it.
Can I use screenshots from other websites?
Yes, for educational purposes (like showing a tool’s interface). Just don’t redistribute copyrighted images. Screenshots are generally fair use.
🎤 Final Thoughts: Start Small, But Start Today
You don’t have to do everything today. Start small – add one image to your next post. Then another. Over time, your blog will look more professional, readers will stay longer, and shares will increase.
And remember: visual content for bloggers isn’t about being a designer. It’s about being helpful. A simple screenshot that clarifies a confusing step is more valuable than a fancy graphic that says nothing.
👉 Ready to level up your blog? Open Canva now. Create one graphic. Your future traffic will thank you.