HTTPS on Blogger: Fix “Not Secure” in 60 Seconds
📘 TL;DR – What you’ll learn: That ugly “Not Secure” warning is scaring your visitors and hurting your Google rankings. Enabling HTTPS on Blogger takes 60 seconds – no coding, no cost. This guide shows you exactly how to flip the switch, fix mixed content issues, and build trust with every visitor. Stop losing traffic today.
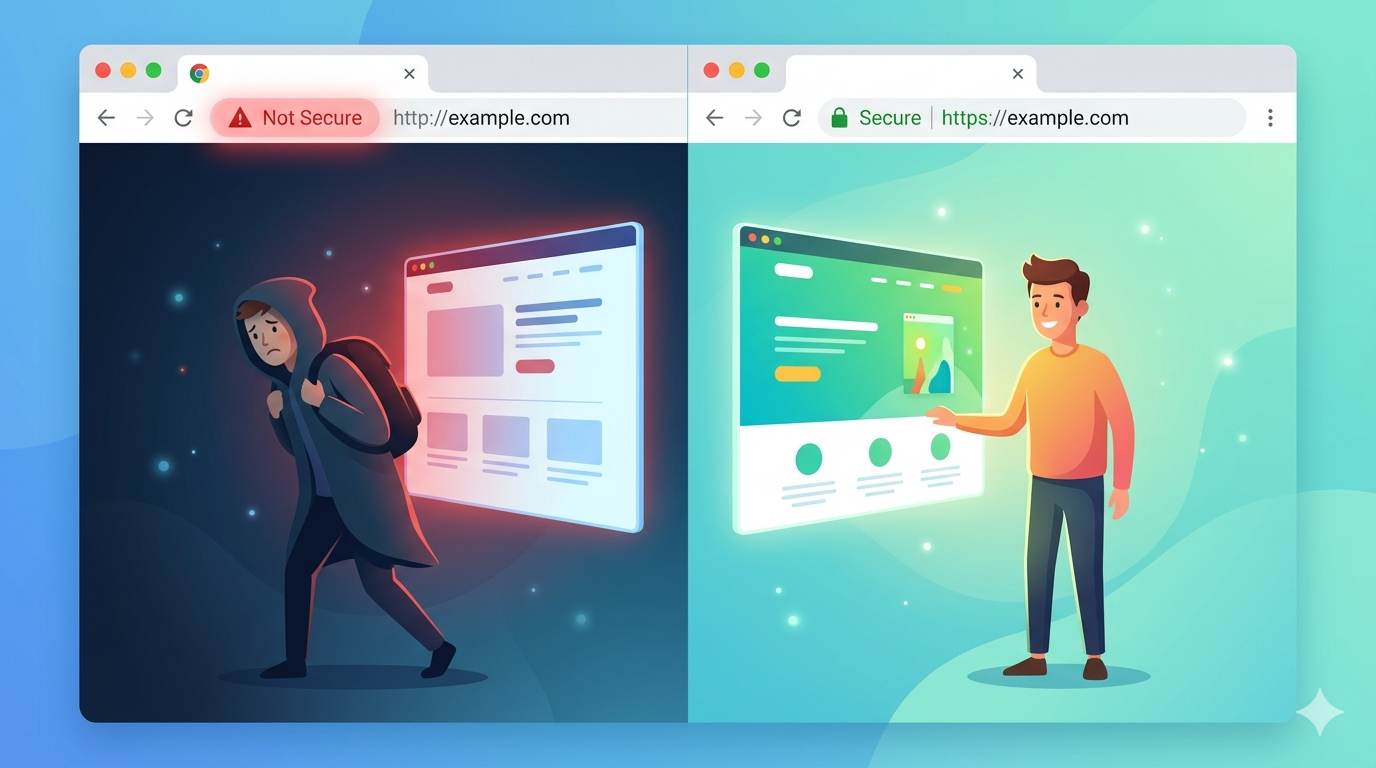
🔥 The Warning That’s Killing Your Credibility
Let me ask you something, friend. Have you ever landed on a blog and seen a glaring “Not Secure” message right next to the address bar? Be honest – did you trust that site? Probably not. Now imagine your own blog showing that same warning. Every single visitor sees it. They hesitate. They click away. And you have no idea why your traffic isn’t growing.
The harsh truth is that HTTPS on Blogger isn’t optional anymore – it’s the baseline for trust, professionalism, and even search rankings. Google explicitly uses HTTPS as a ranking signal. So if your blog is still stuck on HTTP, you’re losing visitors twice: once because they’re scared, and once because Google pushes you down the results.
Here’s the good news: fixing it takes exactly 60 seconds. No coding. No expensive SSL certificates. Just two clicks inside your Blogger settings. I’ll walk you through every step – and I promise you don’t need any technical skills.
📌 True story – Amina regained her readers’ trust
Amina ran a food blog with delicious recipes and beautiful photos. But her bounce rate was sky‑high and her traffic flatlined. She couldn’t figure out why. One day, a commenter wrote: “I almost left because my browser said your site isn’t secure.” Amina enabled HTTPS in under a minute. Within two weeks, her time‑on‑page increased by 40% and she finally saw organic growth. One tiny switch changed everything.
⚠️ The #1 Mistake Beginners Make About HTTPS
Most new bloggers think: “I don’t sell anything, so I don’t need HTTPS.” Wrong. Every blog collects comments, emails, or at least reader attention. If you don’t have HTTPS, you’re telling the world: “I don’t care about your privacy.” Worse, browsers like Chrome actively label your site as unsafe – killing trust before anyone reads a single word. Don’t let that be you.
🔐 What Is HTTPS? (No Tech Jargon)
Think of HTTPS as a locked front door for your blog. Without it, your blog is like a house with no locks – anyone can peek inside. With HTTPS, all communication between your visitors and your blog is encrypted. That little padlock icon in the browser bar tells people: “This site is safe. You can browse, comment, and subscribe without worry.”
Blogger gives you this security for free. You don’t need to buy anything or install anything. You just need to turn it on.
📊 Why You Need HTTPS on Blogger Right Now
- 🔒 Trust: Visitors see the padlock and feel safe. No padlock = instant doubt.
- 📈 SEO boost: Google explicitly favors secure sites. It’s a confirmed ranking factor.
- 💰 AdSense & affiliate requirements: Many ad networks and affiliate programs (including Amazon Associates) require HTTPS. Without it, you can’t earn.
- 🛡️ Privacy: Even simple blogs collect data via comments or email signups. HTTPS protects that data.
- ✅ It’s free: Blogger provides a free SSL certificate – no hidden fees.
⚡ How to Enable HTTPS on Blogger (60‑Second Fix)
Follow these exact steps. Don’t overthink – just do it.
- Go to your Blogger dashboard (blogger.com).
- Click on your blog’s name.
- In the left menu, click Settings.
- Scroll down to the HTTPS section.
- Set “HTTPS Availability” to Yes.
- Set “HTTPS Redirect” to Yes.
That’s it. Blogger automatically issues and installs a free SSL certificate. No support tickets. No code. Just two clicks and you’ve enabled HTTPS on Blogger. (For a deeper dive into all your Blogger settings, check out our complete Blogger Settings for Beginners guide – it covers everything you need to grow.)
🛠️ After You Enable HTTPS: Fix the “Mixed Content” Issue
Sometimes, even after enabling HTTPS, you might still see the “Not Secure” warning. This happens because of mixed content – some images, scripts, or widgets on your blog are still loading over insecure HTTP links.
Example: Your blog is now on HTTPS, but you embedded an image with http://example.com/photo.jpg. The page is secure, but that image isn’t – so the browser warns visitors.
How to fix it:
- Edit the blog post or page that contains the insecure resource.
- Change
http://tohttps://in the URL. - If the resource doesn’t support HTTPS, replace it with one that does (e.g., upload the image to Blogger’s own media library, which uses HTTPS).
✅ Good: <img src=”https://example.com/photo.jpg”>
📋 Quick Checklist After Enabling HTTPS
- 🔍 Check the padlock: Visit your blog and look at the address bar. You should see a padlock. If you still see “Not Secure,” wait 5 minutes and refresh – it may take a moment to propagate.
- 🖼️ Fix mixed content: Use your browser’s developer tools (right-click → Inspect → Console) to see which resources are loading over HTTP.
- 🔁 Update Google Search Console: Add your new HTTPS version to Google Search Console and resubmit your sitemap. For a step‑by‑step walkthrough, read our full Google Search Console for Blogger guide – it shows you how to verify and track your secure site.
💡 The Brutal Truth (Read This Twice)
Here’s what most beginners don’t realise: you’re being judged by a tiny icon. Visitors see “Not Secure” and assume your blog is amateur, careless, or even dangerous. They leave before reading your content. Google sees the warning and pushes you lower in search results. You lose trust, traffic, and income – all because of one setting.
Enabling HTTPS on Blogger takes 60 seconds. It’s free. It requires zero skills. There’s absolutely no excuse to leave your blog insecure. Do it now. Your readers and your rankings will thank you.
📅 Your 7‑Day Security & Trust Plan
- Day 1 (today): Enable HTTPS Availability and HTTPS Redirect in Blogger settings.
- Day 2: Check your blog for the padlock – refresh if needed.
- Day 3: Scan your 5 most popular posts for “http://” links – change them to “https://”.
- Day 4: Update any widgets or third‑party gadgets that use insecure links.
- Day 5: Add your HTTPS blog to Google Search Console.
- Day 6: Resubmit your sitemap (yourblog.com/sitemap.xml).
- Day 7: Proudly share your secure blog – no more warnings.
After 7 days, your blog will be fully secure, professional, and ready to rank.
🙋 Frequently Asked Questions
Does HTTPS cost money on Blogger?
No. Blogger provides a free SSL certificate for every blog. You don’t pay anything.
What if I still see “Not Secure” after enabling?
That usually means mixed content. Check your images and scripts – change any “http://” to “https://”. If you use a custom domain, make sure the domain is properly mapped.
Will enabling HTTPS break my blog?
No. Blogger handles the transition seamlessly. Your existing content and links will continue to work. The only thing that changes is the security status.
Do I need to update my old blog posts?
Only if they contain hard‑coded “http://” links to images or resources. Most of your internal links will work fine because Blogger automatically redirects HTTP to HTTPS.
How long does it take for Google to recognise HTTPS?
Google usually picks up the change within a few days, especially if you resubmit your sitemap in Search Console. You’ll see the update in search results shortly after.
🎤 Final Thoughts: Your Blog Deserves Trust
HTTPS on Blogger isn’t a nice‑to‑have – it’s a must‑have. Every professional blog uses it. Every visitor expects it. And the fix takes less time than brewing a cup of coffee. Open your Blogger dashboard right now. Go to Settings. Flip both switches to “Yes.” Your blog instantly becomes more trustworthy, more professional, and more appealing to Google. Don’t let a tiny warning undo all your hard work. Your visitors are judging you – give them the padlock they deserve. 👻
👉 Ready to secure your blog in 60 seconds? Go to your Blogger dashboard → Settings → HTTPS. Enable both switches. Done. Your blog is now safe and trusted.