How to Add Pages in Blogger (Step-by-Step Guide for Beginners)
So… you just started your blog on Blogger, and you’re wondering:
> “How do I add an ‘About Me’ page? Or maybe a Contact page?”
You’re not alone.
Every new blogger asks the same thing.
And guess what?
It’s actually way easier than it sounds.
In this post, I’ll show you exactly how to add pages in Blogger blog, step by step — no tech skills needed.
Let’s break it all down, nice and easy.
First, What’s a “Page” in Blogger?
Before we do anything, let’s get this straight:
There are two kinds of content you can create on Blogger:
1. Posts – These are your blog articles.
You write them often, and they show up on your blog’s homepage.
2. Pages – These are fixed, permanent sections of your blog.
Like:
They don’t show up in your blog feed.
Think of them like signs that stay in the same place — always there when someone needs them.
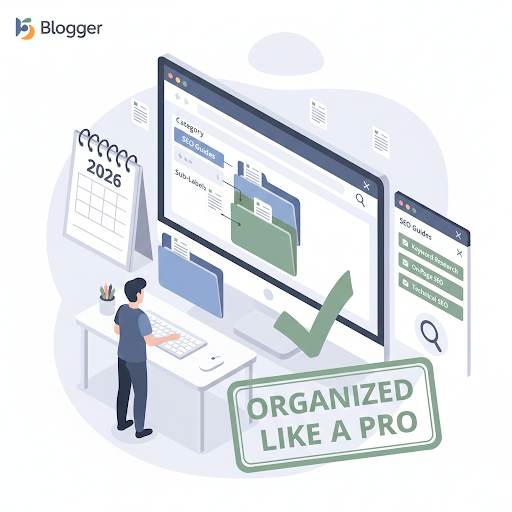
Why Should You Add Pages?
Pages make your blog look professional and trustworthy.
Visitors want to know who you are, how to contact you, or what your blog is about.
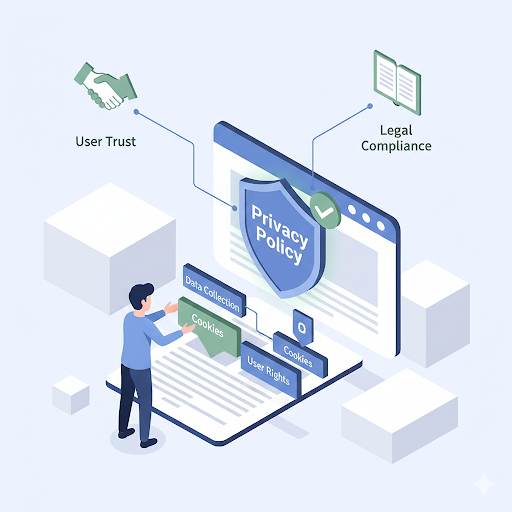
And if you’re planning to make money with your blog (like using AdSense), pages like Privacy Policy and Disclaimer are a must.
Without pages, your blog feels incomplete.
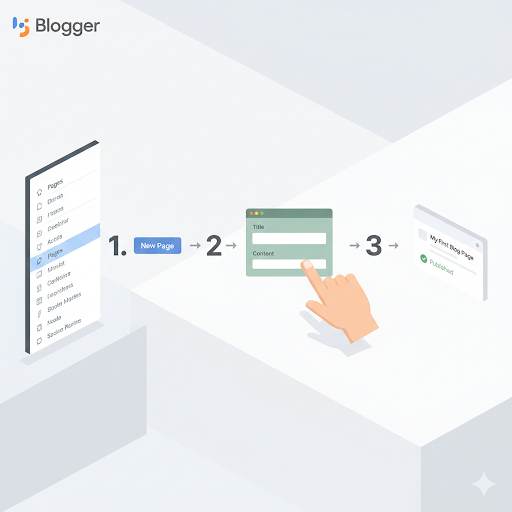
How to Add Pages in Blogger (Step-by-Step)
Let’s get to the good part.
Here’s how to add a page on Blogger:
✅ Step 1: Log into Blogger
Go to your Blogger dashboard and choose the blog you’re working on.
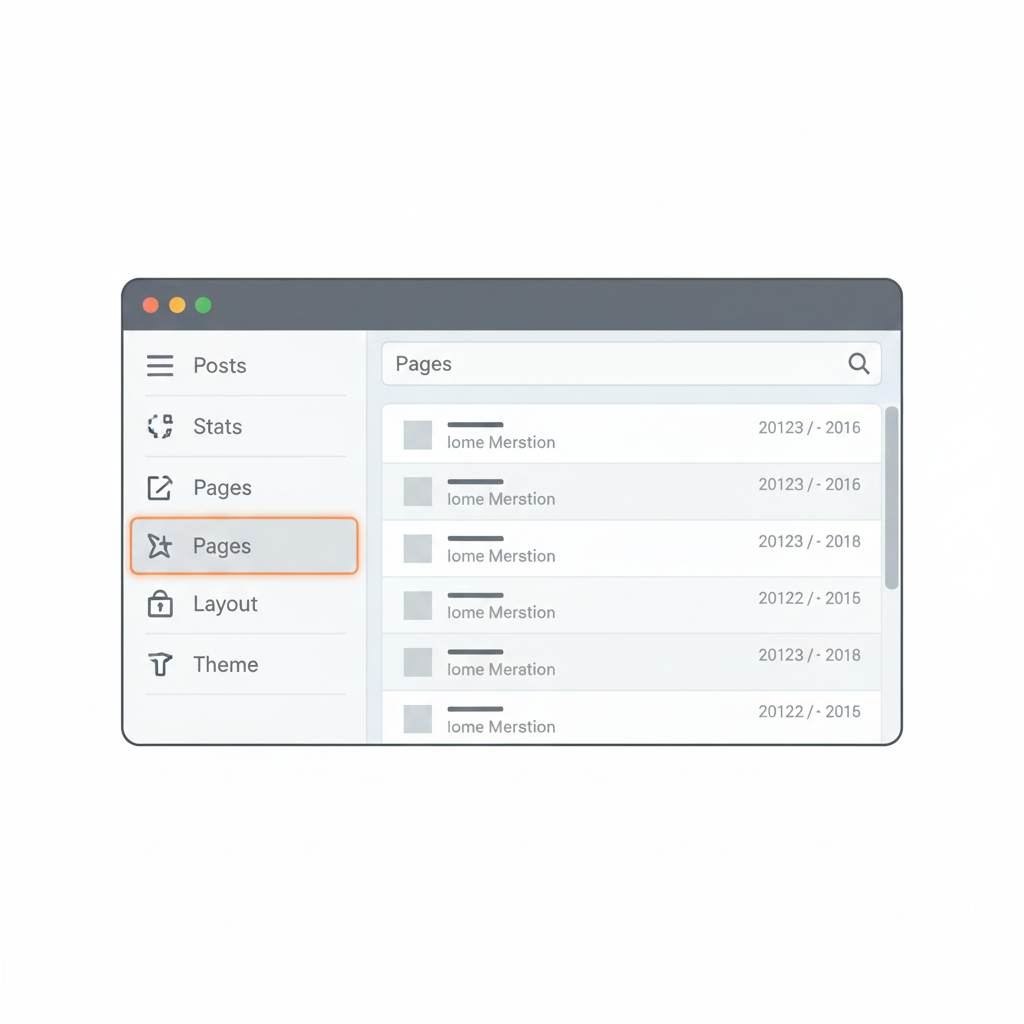
✅ Step 2: Click “Pages”
On the left side, you’ll see a menu.
Click on Pages — this is where all your pages live.
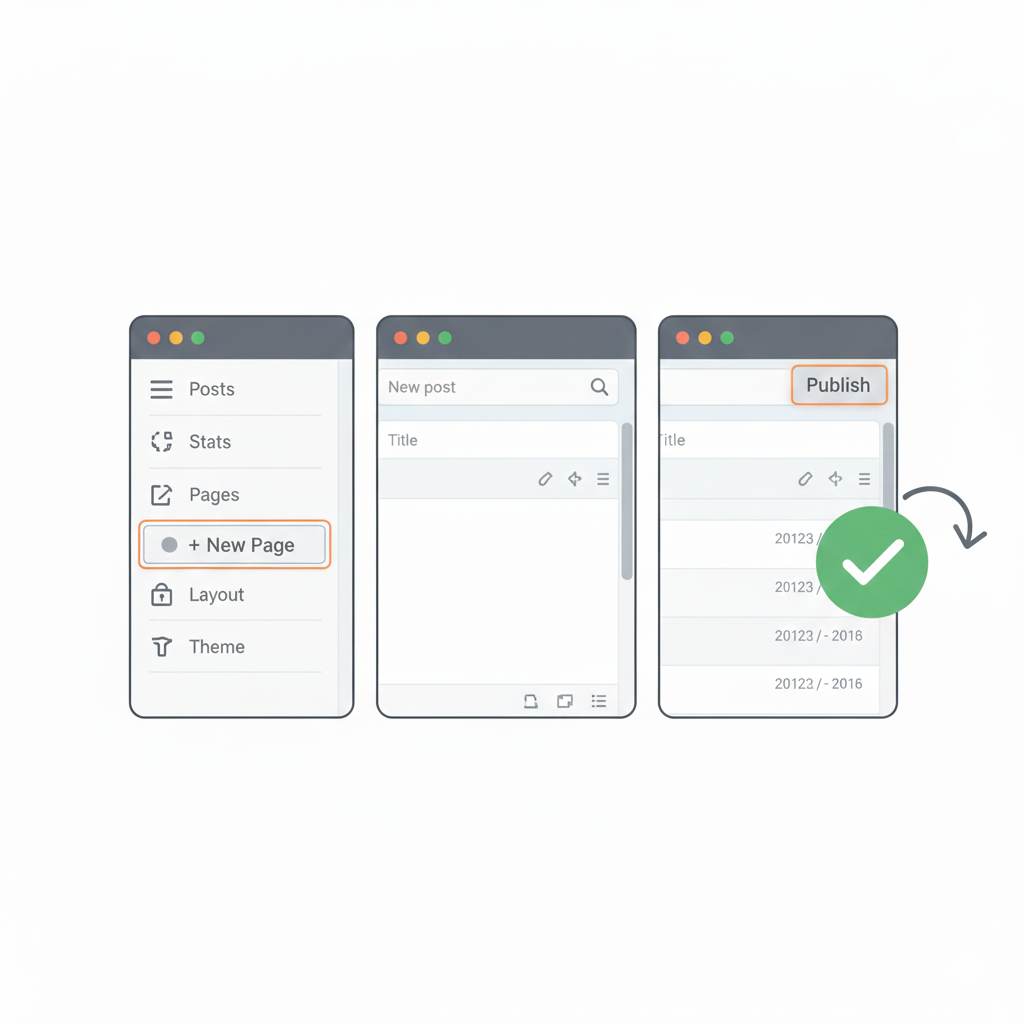
✅ Step 3: Click “New Page”
You’ll see a big + button.
Click it to start a new page.
✅ Step 4: Give Your Page a Title
Example: “About Me”, “Contact”, or “Start Here”.
This title shows at the top of your page and becomes part of the link (URL).
✅ Step 5: Write Your Page Content
Write whatever you want in the editor — it’s just like writing a blog post.
You can:
- Add text
- Insert photos
- Include links
- Embed a form (for contact pages)
✅ Step 6: Hit “Publish”
When you’re done, click Publish — and your page is live!
How to Show Pages in Your Blog Menu
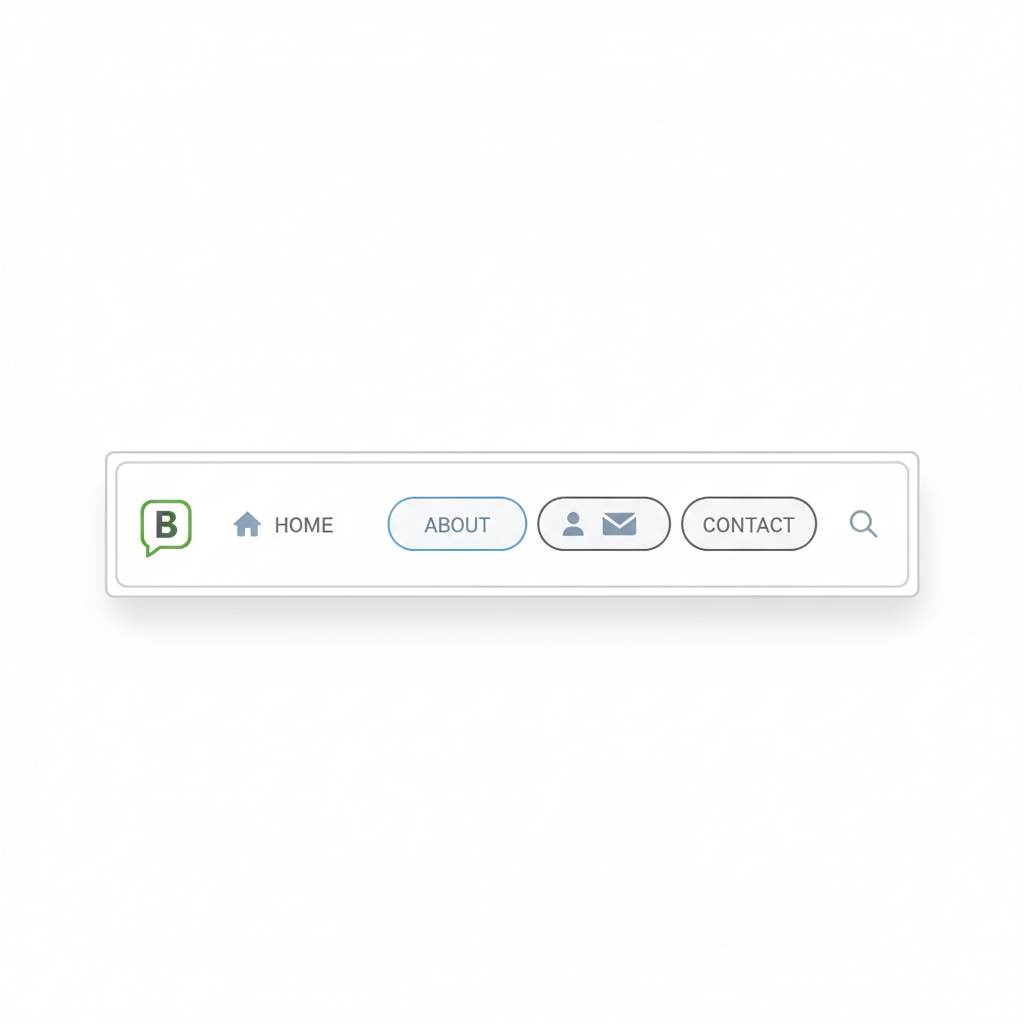
Creating a page is just the first step.
You also need to add it to your blog’s menu so people can find it.
Here’s how:
1. Go to Layout
2. Look for the Pages section (usually at the top or side)
3. Click Edit
4. Check the boxes next to the pages you want to show
5. Drag them to reorder if needed
6. Click Save
Now your pages will show up in the blog’s navigation menu.
Easy!
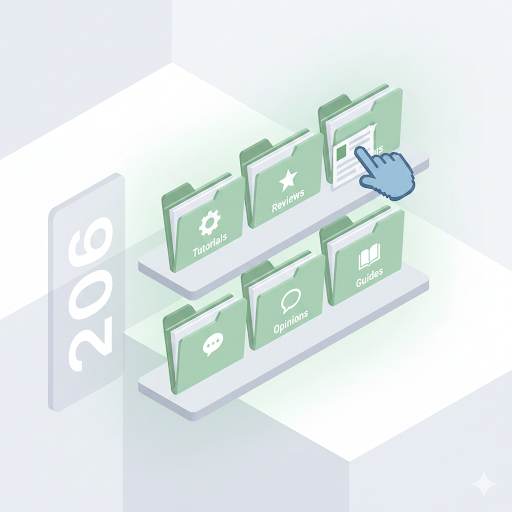
Which Pages Should You Create First?
Here are the must-have pages every blog should have:
- About Me – Tell people who you are and why you started your blog.
- Contact – Let people reach out to you (you can use a Google Form).
- Privacy Policy – Needed if you collect data or run ads.
- Disclaimer – Especially important if you use affiliate links or promote products.
You can also add extra pages later, like:
A “Start Here” guide
A list of tools you use (great for affiliate links)
A category page linking to your best posts
Common Mistakes New Bloggers Make
Let’s save you some headaches.
Here are things to avoid:
- ❌ Writing a post instead of a page
- ❌ Forgetting to add your page to the menu
- ❌ Leaving the page empty or with placeholder text
- ❌ Naming it something like “Untitled Page”
- ❌ Publishing the page, but not linking to it anywhere
- ❌ Adding too many pages to the menu at once (keep it simple.
Quick SEO Tip: Use Clean Page URLs
When you create a page, Blogger auto-generates a URL.
You can change it to something shorter and nicer.
Example:
Instead of:
yourblog.blogspot.com/p/about-me.html
Use:
yourblog.blogspot.com/p/about.html
Simple is better — for readers and search engines.
Final Thoughts: You’ve Got This
Learning how to add pages in Blogger is one of the easiest — yet most powerful — steps you can take when setting up your blog.
It instantly makes your site feel more real, more organized, and more professional.
Your readers expect it — they want to know who you are, how to contact you, or just explore your blog with ease.
So don’t wait. Start by adding one page today, then another.
Step by step, you’ll create a blog that people trust and love to visit again and again.
Got questions about pages?
Feel free to leave a comment — I’m here to help.