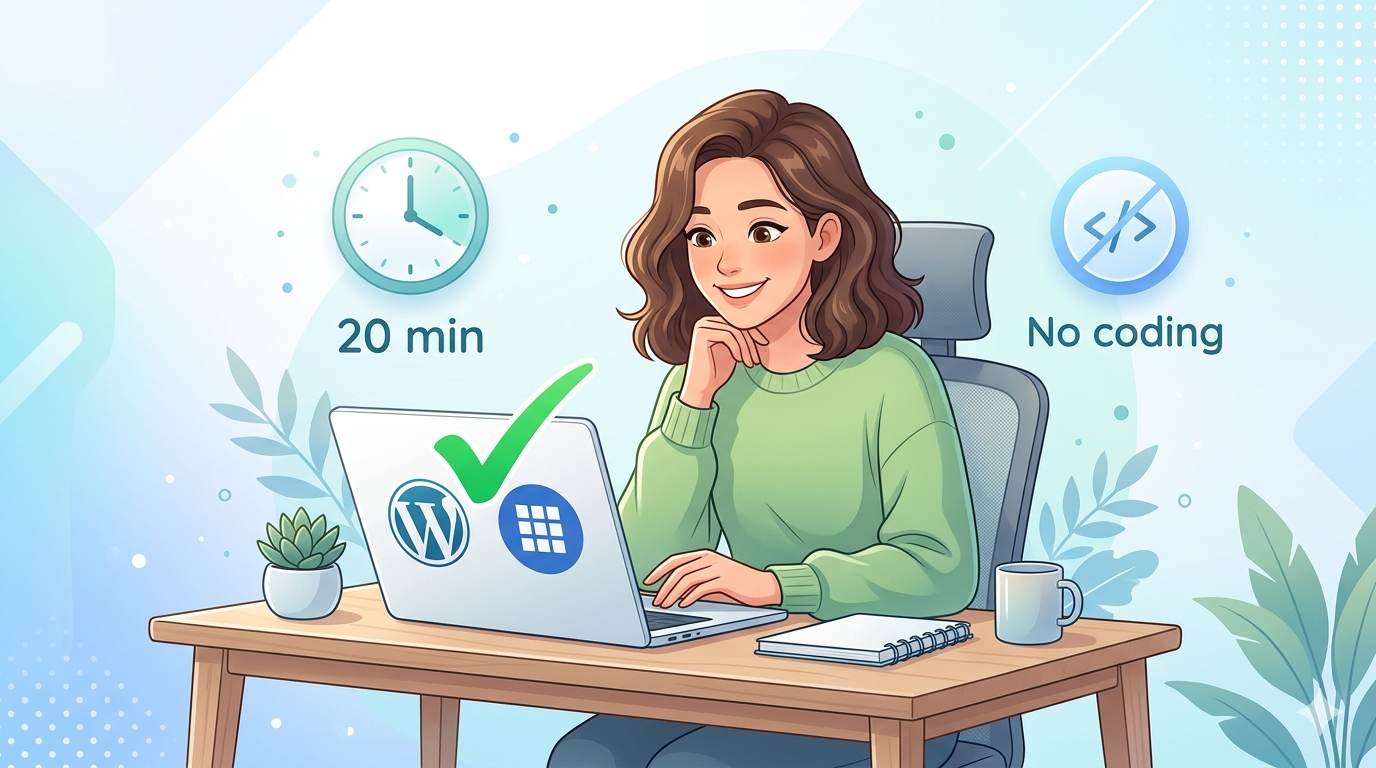
How to Install WordPress on Bluehost in 20 Minutes (No Tech Skills)
This post contains affiliate links.
📘 TL;DR – What you’ll learn: You don’t need coding skills to install WordPress. This 20‑minute guide walks you through setting up WordPress on Bluehost – from choosing a plan to logging into your new site. No tech talk, just simple steps. By the end, your website will be live.
🔥 The Fear That Stops Most Beginners
Let me guess, brother. You want to start a blog or website, but the words “install WordPress” and “hosting” make your stomach tighten. You’re not alone. Most beginners feel exactly the same way. They think they need to be a tech expert. They don’t. And in about 20 minutes, you’ll prove that to yourself.
Before we start, understand that choosing the right foundation matters. If you’re serious about growing, read Best Cloud Hosting for WordPress – Bluehost is beginner‑friendly, but cloud hosting is faster for the long term. And if you’re still unsure about your domain name, check out Choosing the Right Domain Name – it’ll help you pick something you won’t regret.
📌 True story – Omar
Omar had zero tech experience. He’d never built a website. The thought of “installing WordPress” gave him anxiety. Then he followed this exact guide. Twenty minutes later, his site was live. He sent me a screenshot with a simple message: “I can’t believe I was scared of this.” You’re no different. You can do this.
⚠️ Before we start: This guide uses Bluehost because they offer a free domain, free SSL, and one‑click WordPress install. If you already have hosting, the steps will be similar. But if you’re starting from zero, Bluehost is the easiest path.
✅ Wait – What Even Is WordPress? What’s Bluehost?
WordPress is the software that powers your website. It’s free, and it’s what most professional bloggers and businesses use. (In fact, all the articles on this blog are built on WordPress.)
Bluehost is where your website lives – like renting a small piece of the internet. And here’s the best part: Bluehost installs WordPress for you. You don’t have to download or upload anything. No FTP. No file managers. Just clicks.
🎯 Why This Combo Is Perfect for Beginners (Especially If You’re Scared)
- ✅ One‑click WordPress installation – you literally click a button
- ✅ Free domain name for your first year (like yourblog.com)
- ✅ Free SSL certificate (security – Google loves this)
- ✅ 24/7 customer support – they’re actually helpful
- ✅ Cheap – plans start around $3/month
🛠️ How to Install WordPress on Bluehost (Step‑by‑Step – No Tech Talk)
Follow these 5 steps. Read them first, then do them. You’ll be done before your coffee gets cold.
Step 1: Go to Bluehost and Pick a Plan
- Click this link to Bluehost (it opens in a new tab)
- Click the green “Get Started” button
- Choose the Basic plan – it’s perfect for beginners and the cheapest
- This plan includes a free domain, free SSL, and 1‑click WordPress install
Step 2: Choose Your Domain Name
This is your website’s address (like `mikesblog.com`). Take your time. Pick something simple and easy to remember. Don’t have a name yet? You can skip this step and decide later.
Step 3: Enter Your Account Details and Pay
Fill in your name, email, address. Choose the 12‑month plan (best value). Add domain privacy protection if you want (recommended but optional). Then complete your payment. Yes, you pay now – but plans start at $3/month. That’s less than a coffee.
Step 4: Let Bluehost Install WordPress (The Magic Step)
Here’s where it gets easy. After you pay, Bluehost will ask you to create a password for your WordPress account. That’s it. They install everything automatically. No files. No FTP. No confusion.
Step 5: Log Into Your New WordPress Site
You’ll receive an email with your login link. It usually looks like: yourdomain.com/wp-admin. Use your password to log in. That dashboard you’re looking at? That’s where you’ll write posts, change your design, and run your entire website.
📝 What to Do After Installing WordPress (First 30 Minutes)
- 🎨 Pick a free theme – search for “Astra” or “Kadence” in Appearance → Themes. These are beginner‑friendly and fast.
- 📄 Create essential pages: Home, About, Contact. Don’t overthink – just get something down.
- ✍️ Write your first blog post – just 300 words, no pressure. Use 21 Blogging Ideas for Students if you’re stuck.
- 🔧 Install basic plugins – Rank Math SEO (free), UpdraftPlus (backup), WPForms (contact form). That’s it. Don’t install 50 plugins.
💡 The Brutal Truth (Read This Twice)
Here’s what nobody tells you: most people who are “scared of tech” don’t actually lack ability. They lack permission. They’re waiting for someone to tell them, “You’re ready. You can do this.” Well, I’m telling you now: you are ready.
Installing WordPress on Bluehost isn’t hard. It’s a few clicks. The hard part is starting. The hard part is ignoring the voice in your head that says, “What if I mess up?” You won’t mess up. And even if you do, Bluehost support can fix it. So stop researching. Stop watching 15 comparison videos. Pick a domain name – any name – and start. Your future readers are waiting.
⚠️ Common beginner fears – and why they’re wrong:
• “What if I pick the wrong domain?” – You can change it later. Not permanent.
• “What if I break something?” – WordPress autosaves everything. Plus, you can undo changes.
• “What if nobody visits my site?” – That’s a content problem, not tech. One step at a time.
• “I need to learn everything first.” – No. Learn by doing. That’s how every expert started.
📅 Your 7‑Day WordPress Launch Plan (After Installation)
- Day 1: Install WordPress on Bluehost (you’ll do this today!)
- Day 2: Pick a free theme (Astra or Kadence – both are great)
- Day 3: Create Home, About, and Contact pages
- Day 4: Install Rank Math SEO and UpdraftPlus (free plugins)
- Day 5: Write your first blog post (500 words)
- Day 6: Add a simple logo and site title (use Canva)
- Day 7: Publish your first post and share it on social media. You’re live!
After 7 days, you’ll have a live, functional website. And you’ll wonder why you were ever scared.
🙋 Frequently Asked Questions
Do I need technical skills to follow this guide?
No. If you can click buttons and read English, you can install WordPress on Bluehost.
How much does Bluehost cost?
Basic plans start around $3/month when you prepay for 12 months. That includes a free domain and free SSL.
Can I use a different hosting provider?
Yes. The steps are similar for most hosts. But Bluehost is the easiest for beginners because they install WordPress automatically.
What if I already have a domain name?
You can use it instead of getting a free one. During signup, choose “I have a domain name” and enter it.
How do I write my first blog post?
After logging into WordPress, go to Posts → Add New. Write your title and content. Then click “Publish”. That’s it.
🎤 Final Thoughts: Stop Being Scared, Start Your Website
You just learned how to install WordPress on Bluehost in 20 minutes – even if you were scared of tech. That’s a big deal. Don’t minimize it. Most people never start. You’re about to.
So close this tab, open Bluehost, and click that “Get Started” button. Your website isn’t going to build itself. But in 20 minutes, it’ll be alive. And a year from now, you’ll look back at this moment as the day everything changed.
👉 Ready to stop being scared and start your website? Get Started with Bluehost (Free Domain + SSL) →