How to Add Pages in Blogger – No Tech Skills (2026)

📘 TL;DR – What you’ll learn: A blog without pages is not a real website. This guide shows you exactly how to add pages in Blogger – no coding, no stress. You’ll learn the difference between posts and pages, why you need About, Contact, and Privacy Policy pages, and how to add them to your navigation menu. In 10 minutes, your blog will look professional, trustworthy, and complete.
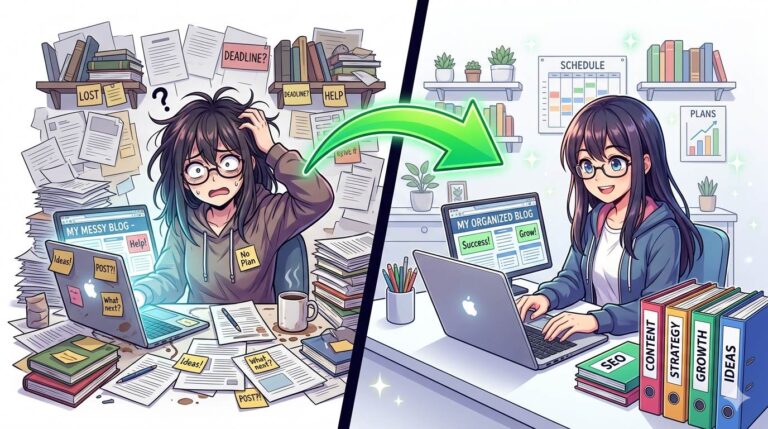
🔥 The Ghost Town Problem
You pour hours into writing posts. You optimize for SEO. You share on social media. But something feels off. Visitors land, read, and vanish. They do not know who you are. They cannot reach you. Your blog feels… incomplete, brother.
Here is the brutal truth: a blog without pages is not a real website. It is a collection of random articles with no identity, no trust, and no future. Google notices. Readers notice. And worst of all, you lose opportunities to connect, monetize, and grow.
The fix is simple. Pages. About Me, Contact, Privacy Policy – these three pages turn a forgettable blog into a professional, trustworthy, and credible online presence.
In this guide, I will show you exactly how to add pages in Blogger. Step by step. No coding. No stress. By the time you finish, your blog will look complete – and you will finally feel proud to share it.
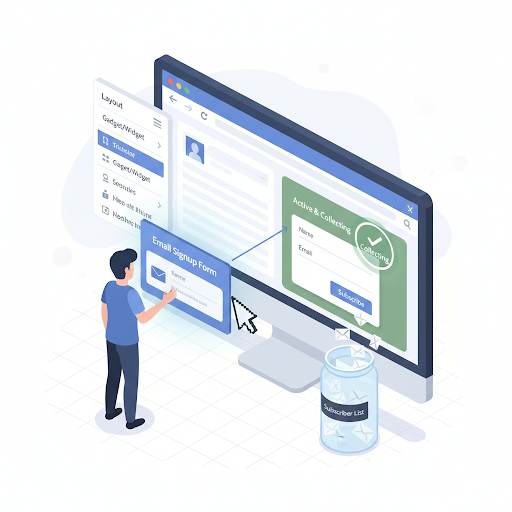
Before we dive in, understand that pages work hand-in-hand with categories to structure your blog. My Categories in Blogger guide shows you how to organize your posts. And to track how visitors engage with your new pages, set up Google Analytics on Blogger – it’s free and shows you exactly which pages visitors spend the most time on.
📌 Real story – My blog looked like a hobby until I added pages
For six months, I only had posts. No About page. No Contact. Visitors came, read, and left. I wondered why no one subscribed to my email list. Then a friend told me: “Your blog feels like a ghost. Who are you? How do I reach you?” I added three pages the next day. Within a week, I received my first reader email. Within a month, my email list grew by 40%. Pages did not just make my blog look professional – they made it real.
⚠️ The #1 mistake that kills new blogs: Publishing posts but ignoring pages. You are invisible, untrustworthy, and forgettable. Readers leave. Google ignores you. Monetization tools reject you. Add pages before you write another post.
✅ What Are Pages in Blogger? (And Why They Are Not Posts)
Many beginners confuse posts with pages. Let me clear this up once and for all:
- Posts: Your blog articles. They appear on your homepage in reverse chronological order. New posts push old posts down. They are like newspaper editions – here today, gone tomorrow.
- Pages: Permanent, standalone sections. They do not appear in your blog feed. They stay in one place – always accessible, always consistent. Think of them as the walls of your house: solid, reliable, and always there.
Pages are not optional. They are the foundation of a professional blog.
📊 Why Pages Are Non‑Negotiable (Even for Small Blogs)
- Trust: An About page tells readers who you are and why they should listen. Without it, you are anonymous.
- Credibility: Blogs with pages feel complete. Blogs without pages feel abandoned.
- Legal protection: A Privacy Policy is required for AdSense, affiliate marketing, and GDPR compliance. Skip it at your own risk.
- Opportunities: A Contact page invites collaborations, guest posts, and reader questions. You are leaving money and connections on the table.
- SEO: Pages add internal links and structure to your site, helping Google understand your blog.
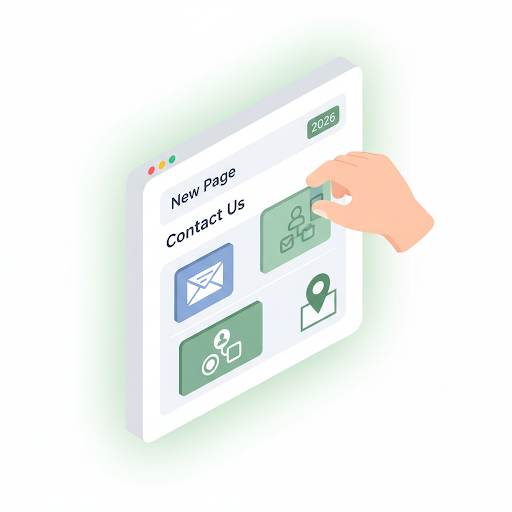
📋 How to Add Pages in Blogger (Step‑by‑Step, Zero Tech Skills)
Step 1 – Log into Your Blogger Dashboard
Go to blogger.com. Sign in with your Google account. Select the blog you want to edit.
Step 2 – Click on “Pages” in the Left Menu
Look at the left sidebar. You will see “Pages.” Click it. This is your page control center.
Step 3 – Click “New Page”
You will see a big, friendly button that says “New Page.” Click it to start creating.
Step 4 – Give Your Page a Clear, Descriptive Title
Examples: “About Me”, “Contact”, “Privacy Policy”, “Start Here”. Keep titles short and clear. Avoid “Untitled” or vague names.
Step 5 – Write Your Page Content
The editor works just like writing a blog post. You can add text, images, links, and even embed forms.
What to write on each page:
- About page: Who you are, why you started this blog, what value you offer, and a photo of yourself (people trust faces).
- Contact page: A simple message inviting readers to reach out, plus your email address or a Google Form embed.
- Privacy Policy: Use a free generator like TermsFeed. Do not write it yourself. Do not copy from another blog.
- Start Here page: A curated list of your best posts for new readers. Great for engagement.
Step 6 – Click “Publish”
When you are done, click the blue “Publish” button at the top right. Your page is now live.
Step 7 – Add Your Pages to the Blog Menu (Critical Step)
Creating a page is useless if no one can find it. You must add pages to your navigation menu.
- Go to Layout in the left menu.
- Find the Pages widget (usually at the top, under the header).
- Click Edit (the little pencil icon).
- Check the boxes next to the pages you want to show.
- Drag them to reorder (Home, About, Contact, Privacy).
- Click Save.
Now your pages will appear in your blog’s navigation menu. Visitors can find them with one click.
💡 Pro Tip: Do not clutter your menu. Keep it simple: Home, About, Contact, Blog. Privacy Policy and Disclaimer can go in your footer (Layout → Footer widget).
📌 Which Pages Should You Create First? (The Essential Three)
- 1. About Me page: Your story. Your mission. Your face. This is where readers decide whether to trust you. Do not skip it.
- 2. Contact page: A simple way for readers to reach you. Use a Google Form (free) or display your email address. Opportunities come through contact forms.
- 3. Privacy Policy: Required by law if you use cookies, analytics, ads, or affiliate links. Generate one in minutes. No excuses. For a complete guide, read Privacy Policy Page for Blogger – it walks you through creating one step by step.
❌ Deadly Mistakes That Ruin Your Pages (Avoid These at All Costs)
- Creating a page but never adding it to the menu. If visitors cannot find it, it does not exist. This is the most common mistake.
- Writing a post instead of a page. Posts disappear from your feed. Pages stay permanent. Know the difference.
- Leaving pages empty or with “Coming soon” text. This looks unprofessional. Finish before publishing.
- Using vague or clever titles. “About Me” works. “My Random Thoughts” confuses visitors.
- No contact information on the Contact page. How will people reach you? Add an email or form.
- Copying someone else’s Privacy Policy without editing. Your blog is unique. Use a generator. Adjust the contact info.
- No photo on the About page. Faces build trust. Add a real photo of yourself – not a logo, not a stock image.
🔗 Quick SEO Wins for Your Pages
By default, Blogger generates long URLs like: yourblog.blogspot.com/p/about-me.html
You can shorten them. Before publishing, click “Permalink” next to the post editor. Edit it to something cleaner.
Example: Change /p/about-me.html to /p/about. Shorter URLs are better for readers and search engines.
Also, add internal links between your pages. Link from your About page to your Contact page. Link from your Privacy Policy back to your homepage. This helps Google understand your site structure. For a complete guide to internal linking that works with your pages, read Categories in Blogger – it covers how to organize your entire site for better SEO.
💡 The Brutal Truth (Read This Twice)
Most beginners think pages are optional. They are not. An About page tells readers you are real. A Contact page invites opportunities. A Privacy Policy protects you legally. Without these, your blog is incomplete – and it shows.
You might think: “My blog is new. I will add pages later.” That is a trap. Google crawls your site from day one. Readers visit from day one. If your site looks incomplete, they leave. They do not come back.
How to add pages in Blogger is simple. It takes 10 minutes. The impact is immediate. Do not delay.
⚠️ Remember: A blog without pages is a ghost town. Readers come, read, and leave – never to return. Add your About, Contact, and Privacy Policy pages today. Your blog will finally feel like a real website.
📅 Your 10‑Minute Page Action Plan (Do This Today)
- Step 1: Open Blogger → Pages → New Page. Create your About page. Tell your story. Add a photo. Publish.
- Step 2: Create your Contact page. Use a Google Form (free) or display your email. Publish.
- Step 3: Create your Privacy Policy. Use TermsFeed. Copy, paste, publish.
- Step 4: Go to Layout → Pages widget → Edit → Check your new pages → Save.
- Step 5: Test your menu. Click each page. Make sure they work.
Done. Your blog now looks professional, trustworthy, and complete.
🙋 Frequently Asked Questions
Can I create a page without publishing it?
Yes. Click “Save as draft” instead of “Publish.” You can come back later.
How do I delete a page?
Go to Pages → click the down arrow next to the page → Delete. Be careful – there is no undo.
Can I add a page to my menu without showing all pages?
Yes. In the Pages widget settings, uncheck “Automatically show pages.” Then manually select the pages you want.
Do I need a Privacy Policy if my blog is new?
Yes, especially if you plan to use Google Analytics, AdSense, or affiliate links. Create one now – it takes 5 minutes.
What is a “Start Here” page?
A Start Here page guides new readers to your best content. It is a great way to keep people on your blog longer. Highly recommended.
Can I reorder pages in my menu?
Yes. In the Pages widget settings, drag the pages up or down to change their order. Save when done.
🎤 Final Thoughts: Pages Make Your Blog a Real Website
You now know how to add pages in Blogger. It is simple. It is fast. And it transforms your blog from a random collection of posts into a professional, trustworthy, and complete website.
Do not delay. Readers trust blogs with About pages. Google trusts blogs with Privacy Policies. Opportunities find you when you have a Contact page.
Spend 10 minutes today. Create your About page. Add your Contact page. Set up your Privacy Policy. Then add them to your menu. Your blog will look complete – and you will finally feel proud to share it.
You have got this, brother. 🚀
👉 Ready to add pages to your Blogger blog right now? Open your Blogger dashboard. Create your About page. Add your Contact page. Set up your Privacy Policy. Takes 10 minutes.